Section II
No. 6
This shaped charge will penetrate 3 in. (7-1/2 cm) ot armor. (It will disable a vehicle if placed on the engine or engine compartment).
MATERIAL REQUIRED:
- Glass Coke bottle, 6-1/2 oz. size
- Plastic or castable explosive, about 1 lb. (454 gm)
- Blasting cap
- Metal cylinder, open at both ends, about 6 in. (15 cm) long and 2 in. (5 cm) inside diameter. Cylinder should be heavy walled for best results.
- Plug to fit mouth of coke bottle (rags, metal, wood, paper, etc.)
- Non-metal rod about 1/4 in. (6 mm) in diameter and 8 in. (20 cm) or more In length.
- Tape or string
- 2 tin cans if castable explosive is used (See Section II, No. 3)
NOTE: Cylinder may be cardboard, plastic, etc. if castable explosive is used.
PROCEDURE:
1. Place plug in mouth of bottle.
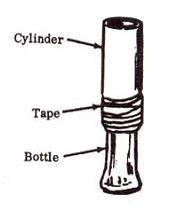
 2. Place cylinder over top of bottle until bottom of cylinder rests on widest part of bottle. Tape cylinder to bottle. Container should be straight on top of bottle.
3. If plastic explosive is used:
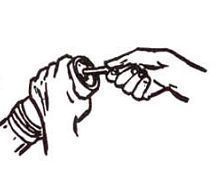
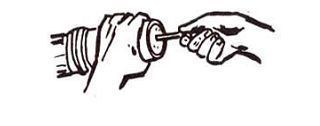
a. Place explosive in cylinder a little at a time tamping with rod until cylinder is full.
b. Press the rod about 1/2 In. (1 cm) into the middle of the top of the explosive charge to form a hole for the blasting cap.
 4. If castable explosive is used, follow procedure of Wine Bottle Cone Charge, Section II, No. 3, Step 4, a through f.
HOW TO USE:
Method 1. If electrical blasting cap is used:
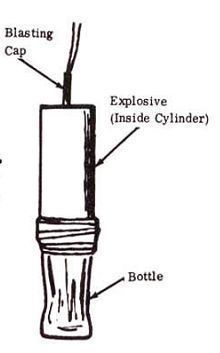
1. Place blasting
CAUTION: Do not insert blasting cap until charge is ready to be detonated.
2. Place bottom of Coke Bottle flush against the target. If target is not flat and horizontal, fasten bottle to target by any convenient means, such as by placing tape or string around target and top of bottle. Bottom of bottle acts as stand-off.
 CAUTION: Be sure that base of bottle is flush against target and that there Is nothing between the target and the base of the bottle.
3. Connect leads from blasting cap to firing circuit.
Method II: If non-electrical blasting cap Is used:
1. Crimp cap
CAUTION: Be sure fuse Is long enough to provide a safe delay.
2. Follow steps 1, 2, and CAUTIONS of Method I.
3. Light fuse when reacts to fire.

